Getting started with PostgreSQL on MAC
Step-1: Installation
- Before starting anything make sure that we have Homebrew installed on your system.
- If not installed already, enter the below command on the terminal else proceed.
$ /usr/bin/ruby -e "$(curl -fsSL https://raw.githubusercontent.com/Homebrew/install/master/install)"
- Now install postgresql by below command
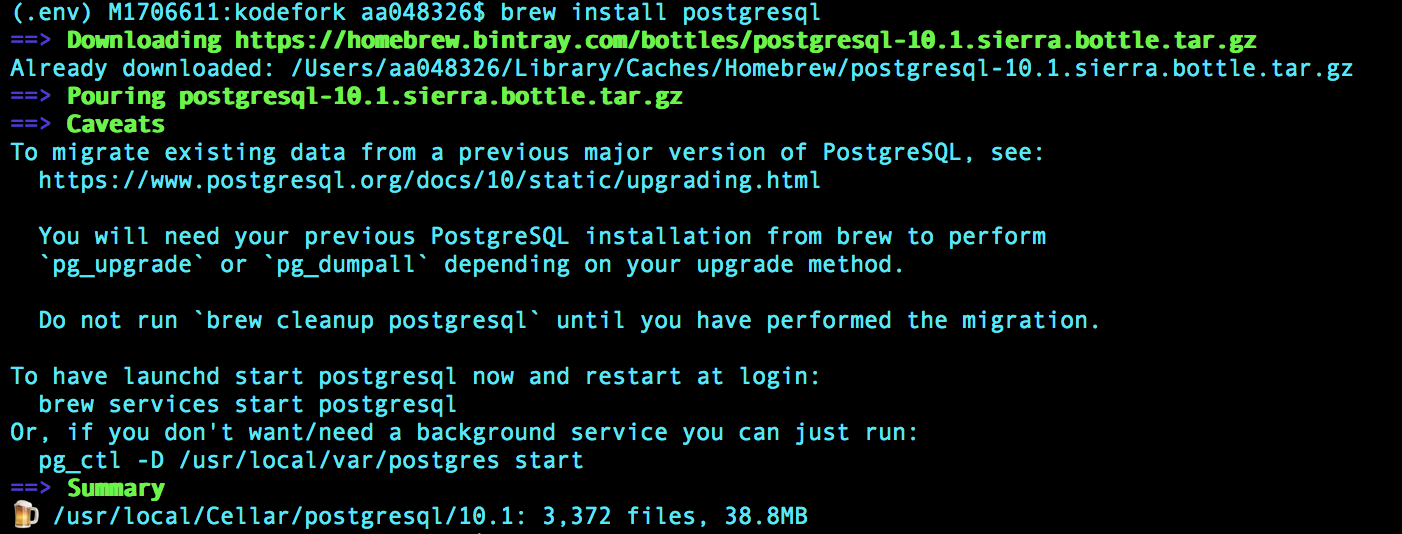
$ brew install postgresql
- We will get screen like once it gets successfully installed.
Step-2: Start PostgreSQL Server
- To start PostgreSQL service just enter the below command.
$ brew services start postgresql

- Alternatively to stop the service
$ brew services stop postgresql
Step-3: Interactive Session PSQL
- To perform any postgres operation we need to enter the interactive session of psql.
- Enter using below command
$ psql postgres

- To exit from interactive session just enter
\q
Step-4: List Databases
- To see all the databases that are already present we need to use
\listor shortcut\lin interactive session.
\l
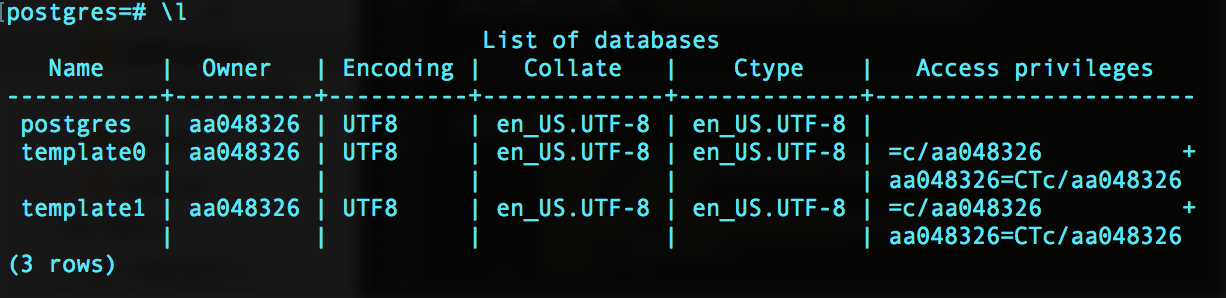
- When we install postgres by default 3 databases
postgres,template0andtemplate1will already be present.
Step-5: Create Database
- To create new database just use below command in interactive session.
- Here we are creating
testdbdatabase for example, we can give our own custom name.
CREATE DATABASE testdb;

-
and it will create
testdbdatabase, we can check by listing it using\lcommand. -
Alternatively, if we can Drop database using
DROP DATABASE testdb;
Step-6: Create User for Database
- We need to create a user to handle this database, the user should have all the privileges on this database.
- Here we are going to create
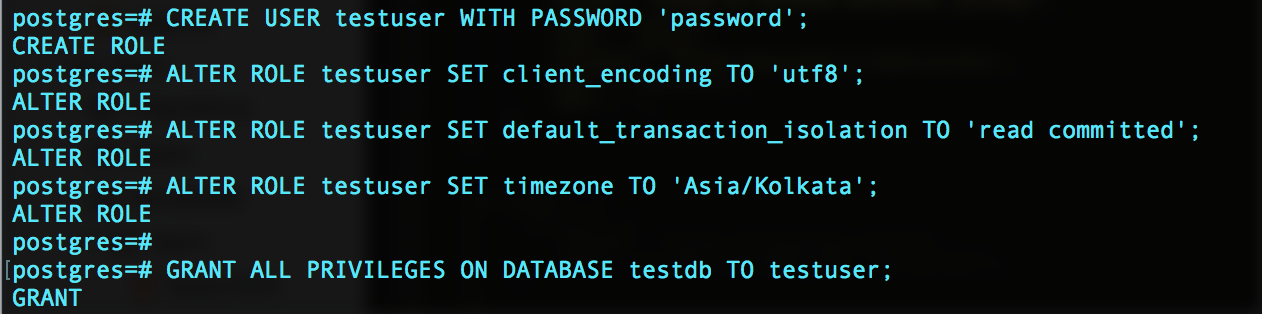
testuserwith passwordpassword, we can create our own custom user with own password. - Then set some settings changes.
CREATE USER testuser WITH PASSWORD 'password';
ALTER ROLE testuser SET client_encoding TO 'utf8';
ALTER ROLE testuser SET default_transaction_isolation TO 'read committed';
ALTER ROLE testuser SET timezone TO 'Asia/Kolkata';

GRANT ALL PRIVILEGES ON DATABASE testdb TO testuser;
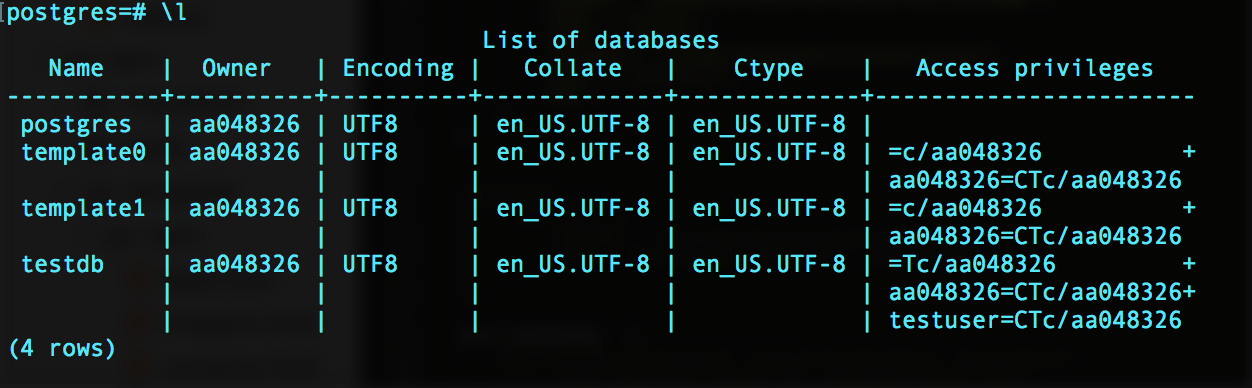
- After all these we will have
testdbcreated with all the privileges totestuser. - Just check it using listing by
\l.
Step-7: Switch Database
- By default we are connected to
postgresdatabase. - We can switch to a new database using
\connector shortcut\ccommand
\c testdb

Step-8: Listing Tables
- Once we have selected the database, we can view all its tables using
\dtcommand. - For now there is no table so it will not show any.
\dt

Step-9: Create Table
- Now we will create a
persontable withid,name,emailand id set as PRIMARY KEY.
CREATE TABLE person (id INTEGER PRIMARY KEY, name VARCHAR, email VARCHAR);
- Once created it will show in tabular form as below
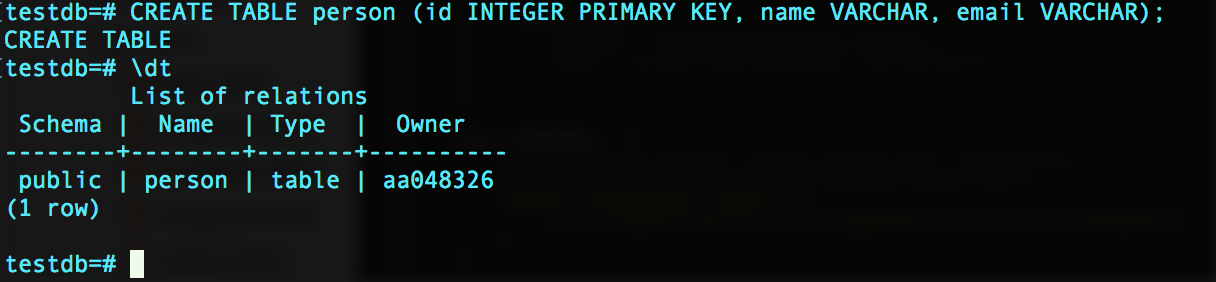
Alternatively, if you want you can drop table using
DROP TABLE person;
Step-10: Fetching Records from Table
- We can see all the records inside a table using
SELECT * FROM person;
- As for now there is no records so it will show 0 rows.

Step-11: Inserting Data in Table
- We can insert record into
persontable using
INSERT INTO person(id, name, email) VALUES(1, 'astik anand', 'astikanand@gmail.com');
- Now seeing the record it will show 1 row.
- We can insert as many record as we want.

Step-12: Backup Database
- Many times for safety reasons we need to take the backup of database and keep the file safe.
- We can do it using
pg_dump dbname > outputfilecommand. - Just exit from interactive session and then enter below command.
$ pg_dump testdb > backup

- and we will see that one backup file is created.
- We can keep it safely somewhere and can restore data from it in future.
Step-13: Restore Database
- To restore data we must have a backup file created by
pg_dump. - Just create a new database(for example:- newtestdb) in which we want to restore the backup file.
- And then use
psql dbname < backupfile.
$ psql newtestdb < backup